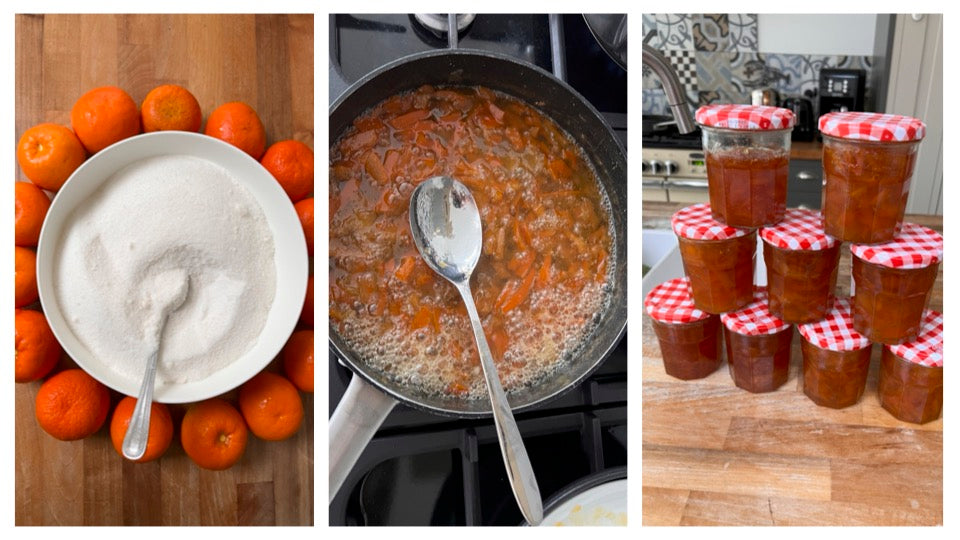
If you like your marmalade bursting with a sweet orange tang & flavour with shred, then our marmalade recipe is the one for you. It's also really easy to make.
The word marmalade comes from the Portuguese word 'marmelada' which means made of quince. The ancient Greeks found that cooking quince together with honey, would set the mixture when cooled!
Enough ancient history- let's make marmalade!
Ingredients- Seville Oranges, Lemon, Preserving Sugar, Water.
Tools- large cooking pan, large frying pan, tongs, sharp knife, chopping board, teaspoon, sieve, ladle, jam jars.
We bought a 1.5 kg bag of seville oranges (usually available Jan/Feb time) from a large Sainsbury's supermarket (they can be hard to find and sell out quickly!). We also bought 1.5kg sugar- we got the Tate & Lyle Fairtrade Pure Cane Preserving Sugar. Apparently a ratio of around 50:50 oranges to sugar is fine. We happened to have an old unwaxed lemon in our fridge which need to be used!
Preserving sugar has bigger crystals which helps keep the sugar suspended while cooking to preventing it burning at the bottom of the pan. (Jam sugar contains pectin which helps jam to set- but with these oranges you don't need any extra pectin)
Seville oranges are the best for marmalade- they aren't edible off-the-shelf like a regular orange and have an intense orangey flavour with a high pith and pip count.
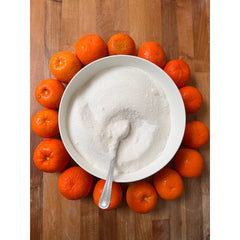
1. 1.5kg Seville oranges and 1.5 kg Fairtrade Preserving sugar
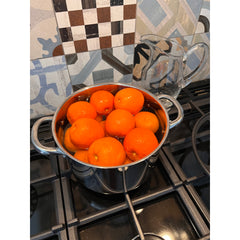

2. Wash the Seville Oranges and put them in a pot of water and bring to the boil. Simmer until they are soft. Put enough water in to nearly cover them completely - the lid reduces evaporation.
3. Keep the water in the pan!! and take the oranges out of the water. We used tongs to do that. You'll know when the oranges are ready because they are soft and when they are taken out of the water they look deflated! Keep the Water in the pan!! - yup, said it twice!
4. Pour the preserving sugar into the warm water in the pan - it should all dissolve fairly easily.
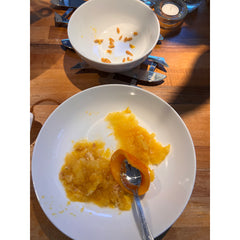
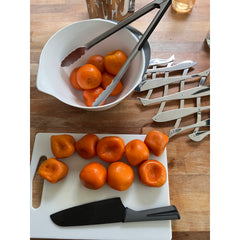
5. Wait until the oranges have cooled a bit so they're easier to handle. Then cut them in half and scoop out the contents. Discard the pips with a teaspoon- this is a bit fiddly and time consuming! Put the peel to one side. Put the orange contents (not the pips or peel) into the saved sugary water in your pan.
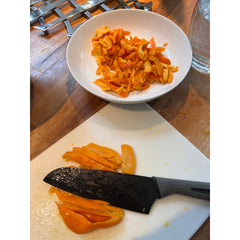
6. Take the peel and slice it as thinly or coarsely as you like in your marmalade. Imagine how they'll look on a piece of toast. Our knife skills are questionable! but the different peel shapes and sizes in our finished marmalade gave it that handmade quality look!


8. Put the sliced orange peel into the sugary water and bring back to the boil. We had loads of water left, so we left the lid off to evaporate some of the water and carried on simmering the mixture.

9. Transfer a decent quantity using a ladle into a pan, heat on, and evaporate and stir the orange and sugary water - this makes it more manageable quantity-wise and helps evaporation.
So now in the pan it should be getting thicker and solidifying a bit. When it looks like most of the water has gone, has a syrupy texture and is slightly darker in colour, you're done! Transfer the pan contents into a jar or 2. (depends how much you have in your pan our pan was 28cm diameter). Repeat this process until you've finished all your mixture.

(Header Image: Ateliers Verts)
#MinimiseOurHumanFootprint
©Ateliers Verts Ltd. 2024
Back to: Ateliers Verts® The Magazine